How to Install a Loft Ladder
Want to make better use of your loft? Wish your attic were easier to access? Learn how to install a loft ladder with this easy-to-follow guide from Ladders UK Direct!
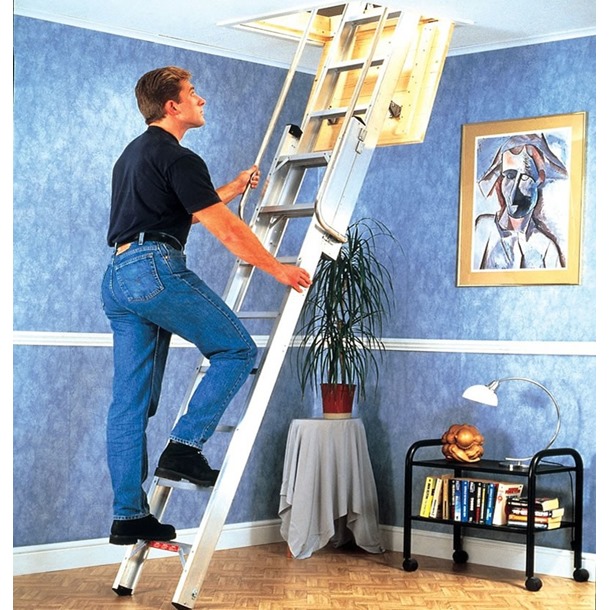
Pictured: Youngman Deluxe 2-Section Aluminium Loft Ladder
Please note that the correct installation method may vary from one product to the next. When you purchase your loft ladder, read the accompanying instructions carefully to ensure you don't install your ladder wrong.
Since it's unlikely that you'll be able to incorporate a ladder into your existing loft hatch (as most hatches aren't suitable for this), the following steps assume that you'll be creating a new hatch in your ceiling before installing the loft ladder.
Can I fit a loft ladder myself?
If you've found yourself asking - can I fit a loft ladder myself? We're here to reassure you that the loft ladder installation process is fairly simple. Whether you're a keen DIY-er with years of experience fitting and installing things around your home, or you're a complete beginner with no DIY knowledge at all, our loft ladders are easy to install. We've provided a step-by-step guide to get you started, but be sure to study the instructions that come with your chosen loft ladder carefully. DIY jobs like this are often easier when there are two people on hand, so employ a friend or partner if you find you're struggling to fit a loft ladder on your own.
Tools you'll need:
- Hammer
- Screwdriver
- Tape measure
- Power drill
- Saw
- Craft knife
- Carpenter's square
1. Creating a loft hatch
First, choose a good spot for your new loft hatch. Here are some important things to consider when selecting a location:
- Check your loft ladder to find out what size opening it requires. The loft hatch will need to be large enough to house the ladder's frame with a small gap for movement all the way around the edge.
- Make sure there'll be plenty of headroom when you emerge into the loft (you don't want to bang your head when you're climbing up the ladder).
- When you think you've found the right place for your new loft hatch, drill a practice hole so that you can see where it comes out and check your chosen location from above and below. The spot you've picked out in the attic may prove less than ideal when viewed from downstairs!
Once you've chosen the right location, it's time to cut your new opening. This guide from DIY Doctor explains how to create a new loft hatch safely - it also includes advice on how to enlarge an existing hatch.
2. Fitting the ladder
Before you can place your new loft ladder into the opening you've created, you'll need to add some battens to support the frame. Nail a length of wood to each side of the opening - make sure the battens are securely fixed and level with one another.
Now place the ladder assembly in the floor opening (positioned so that it is supported by the battens). Check from below - or ask someone else to check for you - that the frame is flush with the ceiling.
Before you move on to the final step, ensure that the ladder is able to open and close correctly in its current position.
3. Securing your loft ladder
Once you're happy with the position of your loft ladder, it's time to fix it in place. Drill at least two holes in each side of the frame (three holes for longer sides) and screw it into place. You can use a hammer and nails if you prefer.
Ensure that the ladder is secure before attempting to use it. Depending on the type of product you've purchased, you may need to cut the ladder's lower section to the correct length for your floor.
FAQ: Can you install an attic ladder perpendicular to joists?
One question we get asked a lot when people are considering installing their own loft ladder is - Can you install an attic ladder perpendicular to joists? All houses are built using joists, and joists play a very important role in your home's construction. The joists are laid parallel to each other and help to support the floors and ceilings of your home.
As you can imagine, cutting into or making changes that affect the joists in your home can have a significant impact on the structural stability of your home, so you don't want to start installing an attic ladder without doing your homework first.
Most attic ladders are installed parallel to the ceiling joists because this causes the least damage and is the easiest method. However, if your joists are running in the opposite direction, or if you want your loft ladder in a very specific place, then you might need to install the loft ladder perpendicular to your joists.
Can I cut through joists to install a loft ladder?
Most structural engineers will encourage you not to mess with the joists in your home. After all, the joists are there to support the structural integrity of the house, so cutting, damaging, or altering them in any way could have a significant impact on your home. That being said, there are some scenarios when you might need to cut through the joists in order to install a loft ladder - and it can be done.
When cutting through joists it's important that you install "headers" to secure the surrounding joists together. If in doubt, always seek the help of a structural engineer before trying to install your loft ladder.
So there you have it, that's how to install a loft ladder on your own. If your DIY skills leave a lot to be desired, you can always skip the above steps and hire a contractor to cut a new hatch and install your loft ladder for you.